Mini Split Installation in Westerville, OH
Westerville mini split installation delivers precise, ductless cooling and heating with expert site assessment, efficient zoning, and professional commissioning for year-round comfort.
Mini Split Installation in Westerville, OH
Mini-split installation in Westerville, OH provides a flexible, energy-efficient way to heat and cool homes that may lack ductwork or need targeted comfort in additions, finished basements, or older ranch-style houses. In central Ohio, where hot humid summers and cold winters place variable loads on HVAC systems, a properly sized and installed ductless mini-split can lower utility costs, improve zone comfort, and avoid the expense of adding ductwork.
Common mini-split use cases and issues in Westerville homes
- Whole-home ductless systems for older homes without ducts or with inefficient existing ducts.
- Single-zone climate control for sunrooms, home offices, finished basements, and additions.
- Multi-zone systems to control bedrooms, living areas, and basement separately for energy savings.
- Typical problems prompting replacement or new installation: uneven heating and cooling, high utility bills, rooms that never reach setpoint, or living spaces added without extending existing HVAC.
- Moisture and humidity control needs during Westerville summers that can be addressed by modern heat pump mini-splits with dehumidification modes.
Site assessment and load calculations
A reliable installation begins with a detailed site assessment and Manual J load calculation specific to your Westerville home. Key factors considered:
- Home orientation, insulation levels, window size and type, ceiling height, and attic/duct conditions.
- Local climate factors: Ohio summer humidity and winter temperature swings that influence capacity needs.
- Room-by-room heat gain and loss to determine the right capacity for each indoor head and the outdoor condenser.The result is an accurate list of required BTU capacities and recommended indoor head counts and placements so your system runs efficiently year-round.
Single-zone vs multi-zone system recommendations
- Single-zone mini-split: Ideal for a garage conversion, finished basement, single large room, or a small addition. Simpler installation and lower upfront cost.
- Multi-zone mini-split: Best for whole-house ductless conversions or homes needing independent control across 2 to 8+ rooms. A single outdoor unit connects to multiple indoor heads, delivering custom comfort and superior efficiency.Recommendation factors for Westerville homes:
- Size and layout of the home and whether multiple rooms share the same load profile.
- Occupant occupancy patterns and desire for separate temperature control.
- Budget for equipment and installation, plus long-term energy savings goals.
Placement of indoor heads and outdoor condenser
Correct placement maximizes comfort and minimizes visual impact.Indoor head placement guidelines:
- Mount high on the wall for even air distribution while avoiding direct blowing onto seating or beds.
- Avoid placing heads where airflow is blocked by cabinets, curtains, or structural features.
- For bedrooms and living rooms, center the head on the longest wall when possible; for open-plan areas, consider a ceiling cassette or multiple heads.Outdoor condenser placement:
- Locate on a level, stable pad with 12 to 24 inches of clearance from walls and vegetation to ensure airflow and service access.
- Position away from bedroom windows and property lines to reduce noise impact and meet local codes.
- Consider winter concerns in Westerville: keep the condenser accessible for snow and ice removal and allow clearance for snow drifting.
Refrigerant line and electrical requirements
- Refrigerant lines and condensate drain lines are typically routed through a small 2 to 3 inch hole with a recessed sleeve or chase to preserve the home exterior.
- Line lengths and vertical separation between indoor and outdoor units affect system selection. Manufacturers specify maximum permissible lengths and elevation differences; installers match equipment accordingly.
- Electrical needs: mini-splits require a dedicated circuit and appropriate disconnect near the outdoor unit. Power requirements vary by model and number of indoor heads. A licensed electrician verifies panel capacity and installs wiring to code.
- Permits and code: local Westerville and Franklin County electrical and HVAC codes require permits for new installations; a professional installer will coordinate inspections.
Mounting and condensate routing
- Indoor units are mounted on a secure bracket anchored to studs or to a reinforced wall plate. For masonry or brick facades, anchors and sleeves are used to protect the structure.
- Condensate routing options:
- Gravity drain to an exterior location when head is near an exterior wall.
- Pump-assisted drain for basement or interior installs where gravity drainage is not possible.
- Condensate line insulation and routing must prevent freezing during cold months.
- Flashing and sealing: around any exterior penetrations, proper flashing and sealant prevent water intrusion and maintain the home envelope.
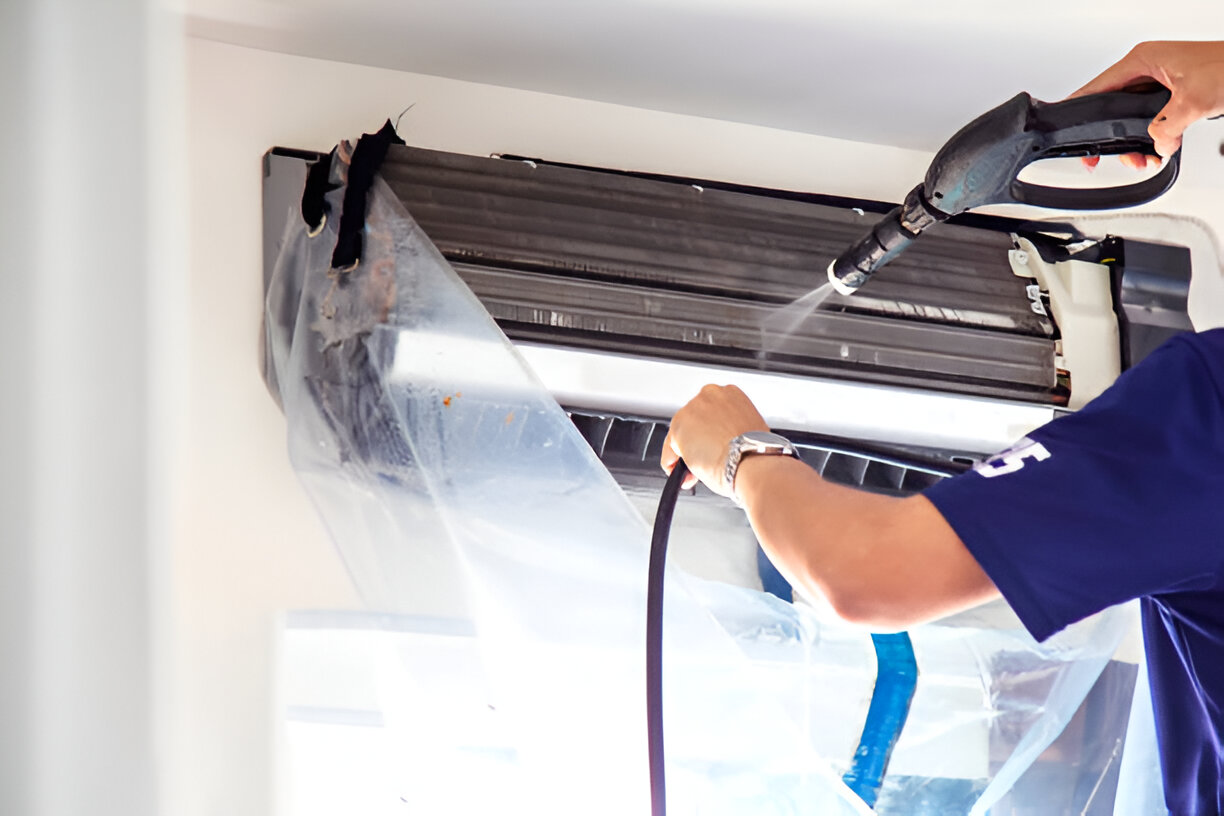
Testing and commissioning procedures
Thorough testing ensures reliable performance from day one:
- Evacuation and leak testing of the refrigerant lines to manufacturer vacuum and hold specifications.
- Refrigerant charging when required by manufacturer practice for long line sets or factory-sealed systems.
- Electrical checks: voltage, amperage, and safety interlocks verified on both indoor and outdoor units.
- System performance tests: verify cooling and heating output, airflow, temperature split, and proper defrost operation in heat pump models.
- Programmable thermostat and remote control setup, plus demonstration of features such as sleep mode, dehumidify mode, and scheduling.
- Installer documents final capacities, refrigerant charge, and any deviation from the original plan for future reference.
Typical timeline and homeowner preparation
Typical installation timeline for a standard single-zone install: 2 to 6 hours. Multi-zone or complex installs: 1 to 3 days depending on number of heads, line-set routing, and any electrical upgrades.How to prepare:
- Clear access to installation locations and remove wall hangings or furniture near mounting areas.
- Ensure a clear path to the exterior area where the condenser will sit.
- If indoor electrical panels need upgrading or a new dedicated circuit is required, allow additional time for electrical work.
- Plan for possible interior patching or paint touch-up after the equipment and line set are installed.
- Check for HOA guidelines in Westerville neighborhoods for outdoor unit placement or exterior penetrations.
Post-installation support and maintenance recommendations
Proper maintenance extends life and efficiency:
- Seasonal filter cleaning or replacement every 1 to 3 months depending on usage and indoor air quality.
- Annual or semi-annual professional tune-ups to check refrigerant levels, clean coils, verify electrical connections, and inspect condensate drainage.
- Keep outdoor condenser clear of leaves, snow, and debris. Trim vegetation back at least 12 inches.
- For Westerville homes with higher pollen or construction dust, consider washable pre-filters or higher MERV-rated filters where compatible.
- Keep records of system model numbers, refrigerant type, and commissioning notes for warranty and future service needs.
- Consider enrollment in a preventative maintenance plan for priority scheduling and potential extended equipment life.
Hot Deals & Cool Savings

.webp)
New Service Agreement Membership
.webp)
Any New Client Service
Next Service for Referring a New Client
New Service Agreement Membership
Any New Client Service
Next Service for Referring a New Client
.webp)
.webp)
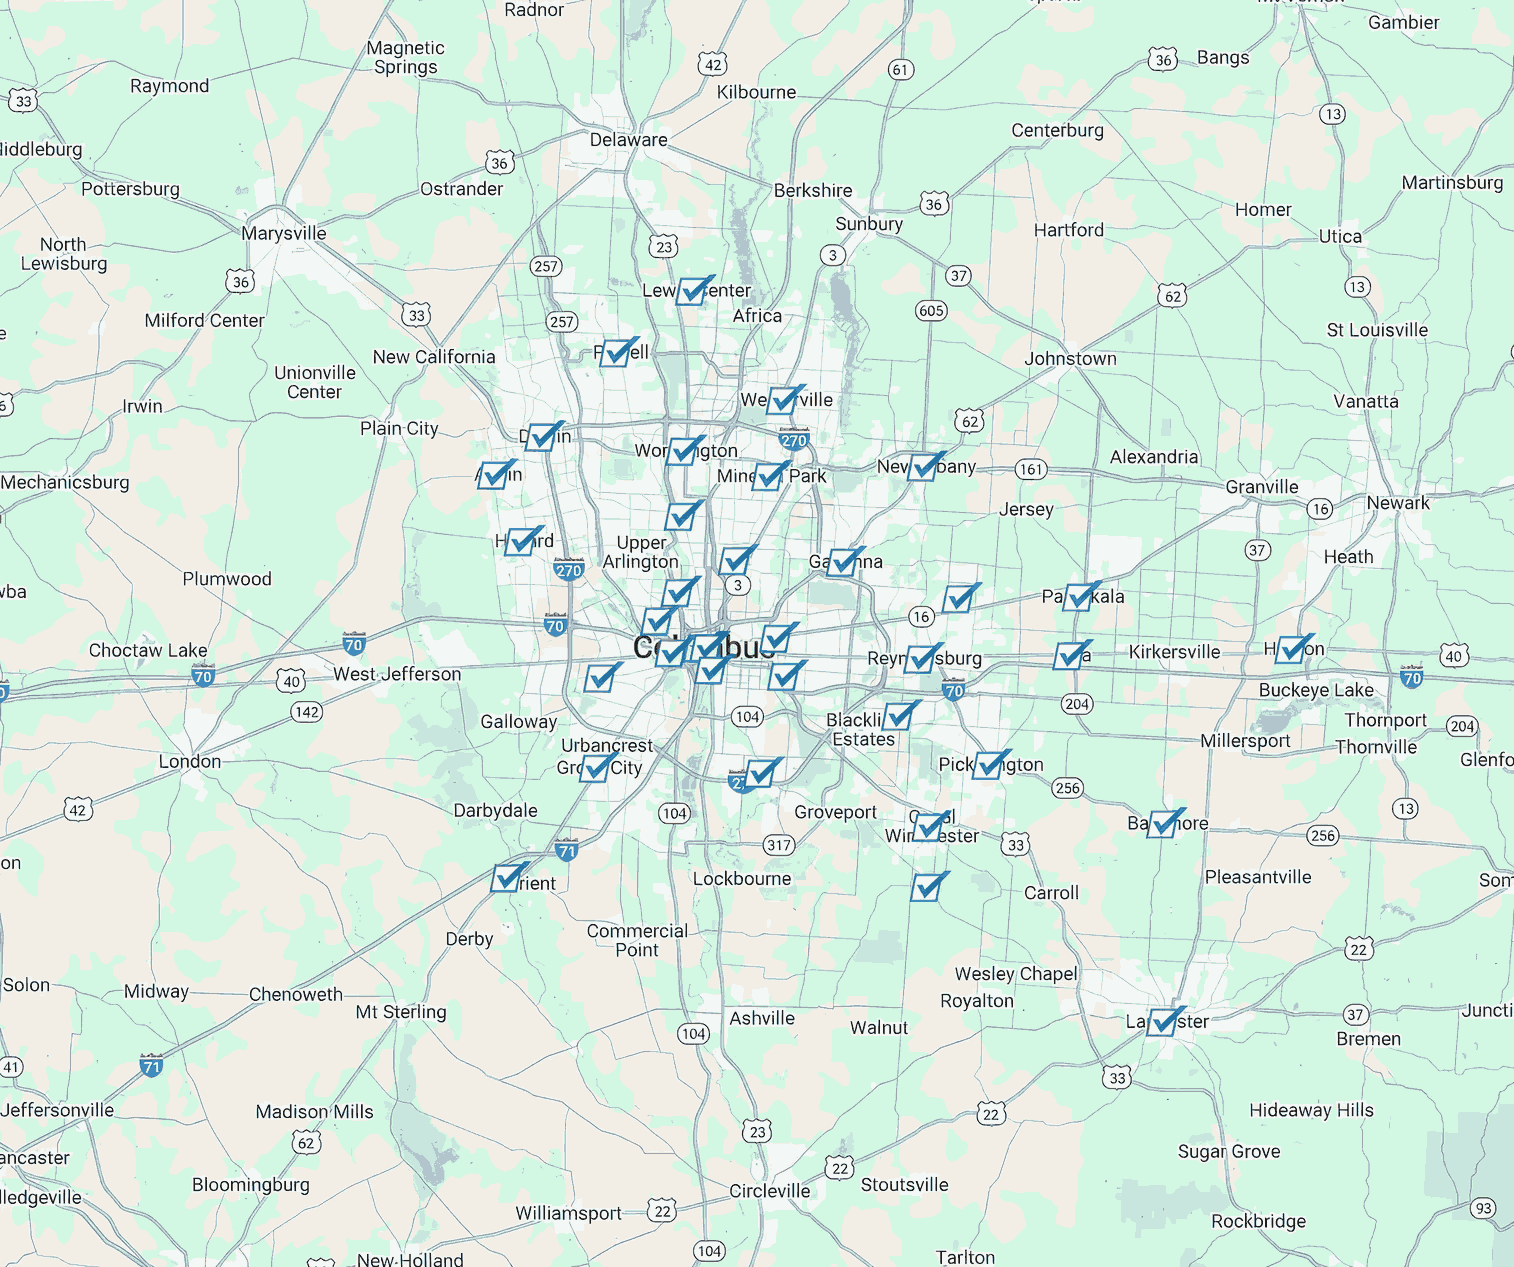
Service Areas